Stitch Guide
with Instructor Steve Butler
Class 156

What is it?
Ever watch an accomplished sewer lay down a line of stitches? It’s always perfectly straight or curved as desired. It looks easy, right? Well, easy until you drop the presser foot and the stitching begins. Then the skills of said sewist become glaringly evident. There’s nothing automatic about perfect straight or curved seams. It takes years of honing those skills to be proficient. And absent those skill enhanced perfect seams our sewn projects will constantly remind us, “It could have been better.” And the nagging just gets worse and worse until the seams get better. Our preparation is flawless. Patterns, fabrics, threads, and accessories are all selected with great care. We measure, mark, cut, pin and press with precision. We’ve done all we can do. The stage is set. The presser foot is dropped and the stitching begins. How can we ensure that the resulting stitches are as perfect as possible? Clover’s Stitch Guide is the answer. The Stitch Guide allows perfect placement of our stitches, straight or curved, as we put thread to fabric. No muss, no fuss and no nagging voices telling us we could have done better.

What does it do?
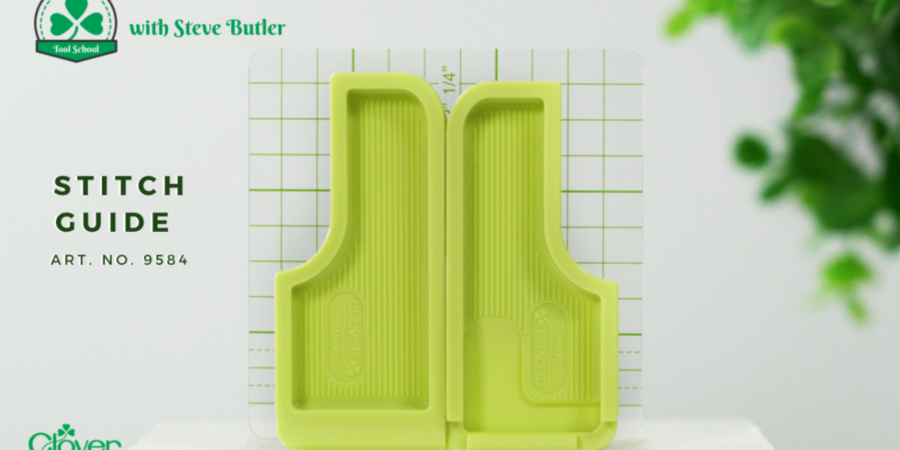
Stitch Guide is truly a multi-function tool that will make sewing even the most difficult and demanding applications of thread to fabric a breeze. The stitch guide itself is a two piece interlocking plastic foot. They can be used together or separately depending on your stitching application. Connection with your sewing machine is accomplished by a renewable adhesive attached permanently to the bottom of each foot. Just remove the feet when you’re done. They leave no adhesive residue. The shapes and edges of each foot holds our fabric firmly in place and makes it perfect for a multitude of sewing applications. A handy template ensures that the stitch guide is always in the correct position. So how’s it used?
· Both sections together for straight stitching
· One foot on either side of the needle for quilt strips or precision top stitches
· Curve side up for outer curves
· Curve side down for inner curves
· Top stitch right side
· Top stitch left side
The Stitch Guide is an incredibly versatile tool that can adapt to any specific need that might arise in even our most lofty creative expressions.

How do I promote it?
Seeing is believing. Leave one set up on a demo sewing machine with some fabric strips on the cabinet. Invite your friends to sew a few strips. That’ll bring a smile their faces. And as always, samples sell. Make some models showing precision stitches and some dynamite top stitching. Start the creative juices flowing. The rest is easy.