Drab to FAB
Bag and Hat Upgrade
By Shannon and Jason
Seldom do we use the phrase “Quick and easy.” Some projects are quick, some are easy… rarely are they ever both. This project is one of those rarities that is indeed quick and easy!
Woven handbags are easily found with a quick internet search. In fact, the “crafty” trend is huge in bags for 2022. Unfortunately, if you want the latest Chloé tote or Bottega Veneta bag from that trend, you are going to pay $1,200 or $7,200. Beach totes with linings and zippers are in abundance but, to find one that isn’t drab and, well, boring, you are going to shell out. Bags like this adorned with raffia flowers and such are the hot trend, but you don’t have to pay hot trend prices. It only takes a few minutes, Clover’s Hana-Ami Flower Loom, and a spool of raffia yarn to embellish a simple bag and turn it into a couture accessory. No kidding, from opening the packaging to creating this bag took one movie and one TV episode. Full disclosure: we were both kids from the 70s who remember those flower looms you could order from TV, so we were already familiar with this concept. That said, the Clover Hana-Ami Flower Loom is much more versatile, easier to use, and you can’t break it as easily and hear that heartbreaking death rattle from those other toy tools from the mid-seventies. Okay… enough craft trauma… ONWARD!
We’re going to show you how to upgrade a simple woven handbag and, BONUS, we got a little carried away and show you how we dressed up Shannon’s sun hat they wear in the garden.

MATERIALS
- 1–Woven Bag and/or Hat
- Raffia Yarn – No wider than 1/4″
- Hot Glue Gun or Needle and thread
TOOLS
- Clover Hana-Ami Flower Loom – Item 3146
- Bent Tip Needle included in kit
OPTIONAL: Clover Huck Embroidery Needle – Item 2012

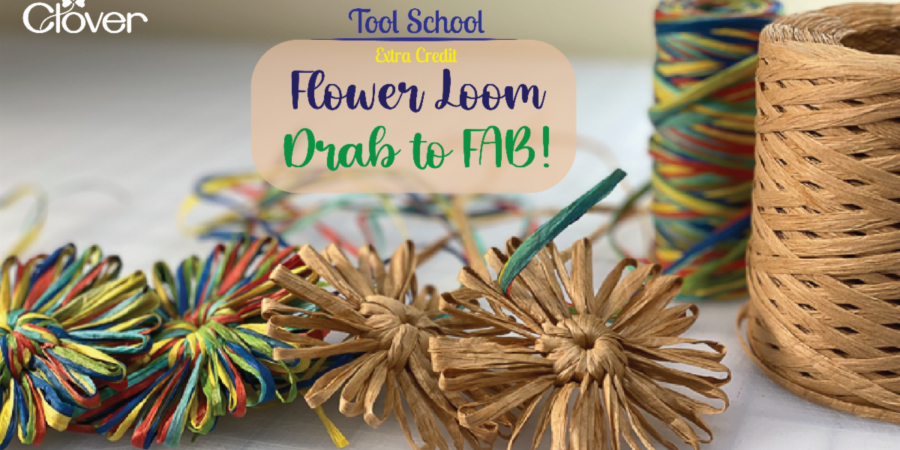
1. Make Flowers
- Using the instructions included with the loom or watching our video demo, make as many flowers as you like. Because of the size of the raffia, we used the large round loom for ours, but you can use whatever size or shape you like.
- Since the raffia is denser than yarn you will find it easier to hold the loops with one hand and turn the loom with your other hand as you make your base. See how we maneuvered the loom and raffia in our video.
- Being sure to cut a tail at least 24″ (61cm) and thread the end through the needle included with your kit.
- Insert the needle in the space created in one “petal” across from your ending point, front to back.
- Snug it up.
- Bring your needle up from behind through the center of your flower.
- Insert the needle in the space created in the next “petal”.
- Snug it up.
- Continue working around through each petal until your flower center is complete.
Tie off your starting and ending lines on back of the flower and weave in the ends around the back of the center.


2. Attach The Flowers
- You will need at least 5 flowers for each side of the bag you want covered. But, hey, if you have a smaller or larger bag, make less or more.
- Lay out your flowers in the manner that makes you happy.
- We recommend arrangements using odd numbers.
- Hot glue (or sew using heavy thread) the flowers to the bag. (Honestly, we started out hand sewing them and crossed over to the hot glue. It is secure and quick so why not.)
- Start with the bottom flowers and work up to the top.

3. Hat Option
- If you are upgrading a hat, pick a number of flowers that suits your style and attach just like the bag.

What once was drab is now FAB!