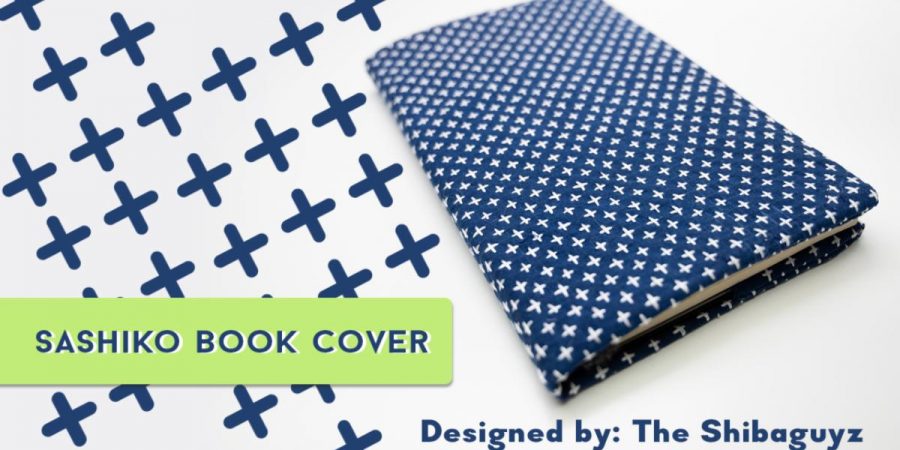
We love books; cookbooks, novels, photo albums, and journals. Visitors to our home on more than one occasion have marveled and asked, “have your read all of these?” Yes, we have. Many times over… Because of that, we occasionally have to cover a favorite book with a homemade cover to keep it safe, just like we did with our science books in grade school. Often a simple cover will do but, for our favorite books and journals we give them a special cover. For this project, we are using one of our design journals that we keep in a project bag in case we want to write down quick notes about an idea or sketch a concept. It has… seen better days… to say the least. Since sashiko was originally used to patch and reinforce fabric, it is the perfect choice for making a fabric cover to protect this journal.
With just a little bit of elementary school math and a touch of stitching you too can make covers for all your favorite books and albums. We’ve provided a “recipe” to follow so all you have to do is take 3 measurements, plug in the numbers, and get stitching to make a cover to fit books of any size. Also we’ve provided a link to a sashiko tutorial on our blog to get you started embellishing.
These covers make great gifts to go with photo albums filled with pictures of friends and family… just a thought.
Cotton Fabric of your choice. We chose Cherrywood Hand Dyed Fabric in Indigo Blue. It is a dense woven cotton in our favorite shade of blue that will survive the workout we give our book covers.
Note: The amount of fabric needed will vary based on the size of the book you are covering. For most standard size books one fat quarter will suffice. For large books, albums, and binders you will need a bit more…use your best judgement.
Recipe for Cutting Your Book Cover Fabric
Take Measurements
With a soft measuring tape take the following measurements:
Measurement A: With book closed, take the wrapped measurement of both covers across the spine
Measurement B: Height of Cover
Measurement C: Width of One Cover
Measurement for Cuts
Add width of one cover to wrapped measurement
A + C
Add 2” to height measurement
B + 2″
Example Measurements from our Project
Our journal has the following measurements:
A=11″
B=8.25″
C=5 1/8″
A+C=16 1/8″
B+2″ =10.25″
Based on these measurements, our book cover fabric should be a rectangle cut 16 1/8″ X 10.25″.
Important: Remember, every book will be a little different and you need to do your own measurements.
INSTRUCTIONS
Step 1: Seal the edges.
Overlock or zig-zag stitch the edge of your cut fabric
Step 2: Draw a Grid
Lay a plastic mesh grid (available at most craft stores) on your fabric.
Pin the plastic mesh down through the fabric to keep it in place while making dots.
Using an erasable or water-soluble marking pen, make dots around the edge of your fabric through the mesh grid.
-If you do not have a mesh grid you can draw lines 3/8″ to 1/4″ apart using a quilting ruler.
Use a straight edge or ruler to connect the dots both vertically and horizontally.
Step 3. Sashiko Stitching
Stitch a series of offset crosses using vertical and horizontal running stitches along the grid to keep your lines straight and stitches even.
Tip: if you are doing a larger book and feel like the fabric alone will not be stable enough, use fusible interfacing on the inside of your fabric. Add the fusible interfacing after you finish the sashiko stitching.
Step 4: One Last Bit of Math…
With Right side facing up, fold both short sides in 1/2 the width of one cover, minus 1/8”.
-(C ÷ 2) – 1/8″.
-We subtract the 1/8″ because sashiko stitching will tend to pull in the fabric a bit.
2.Press fold to crease.
Step 5: Sew Folded Edge
Mark 3/4” from top and bottom edges on the folded fabric (4 marks).
Sew folds along the marked top and bottom edges (4 seams sewn).